The goal of this project is to represent the alphabet in two of three ways; System, New Helvetica Neue, or Found Object. I did the later two is the System one is a bit too restrictive for my taste.

Ribbon Letters; Found Object
Ribbon letter are very simple, the letters formed by ribbons.
Making a ribbon letter is easy all you need is ribbon, some scissors and some tape.
First Step Form the letter.
Easily the hardest part. I did some with just one piece of ribbon while others used more than one. Letters like c, e, s, and z were very difficult. I also used two different ribbons, a green one and a blue one for variety.
Easily the hardest part. I did some with just one piece of ribbon while others used more than one. Letters like c, e, s, and z were very difficult. I also used two different ribbons, a green one and a blue one for variety.
Second Step: Tape it together.
Easy, but you have to hold it very well to make sure it’s typed together and it would not break/fall apart. If it does fall apart reform and retype.
Easy, but you have to hold it very well to make sure it’s typed together and it would not break/fall apart. If it does fall apart reform and retype.
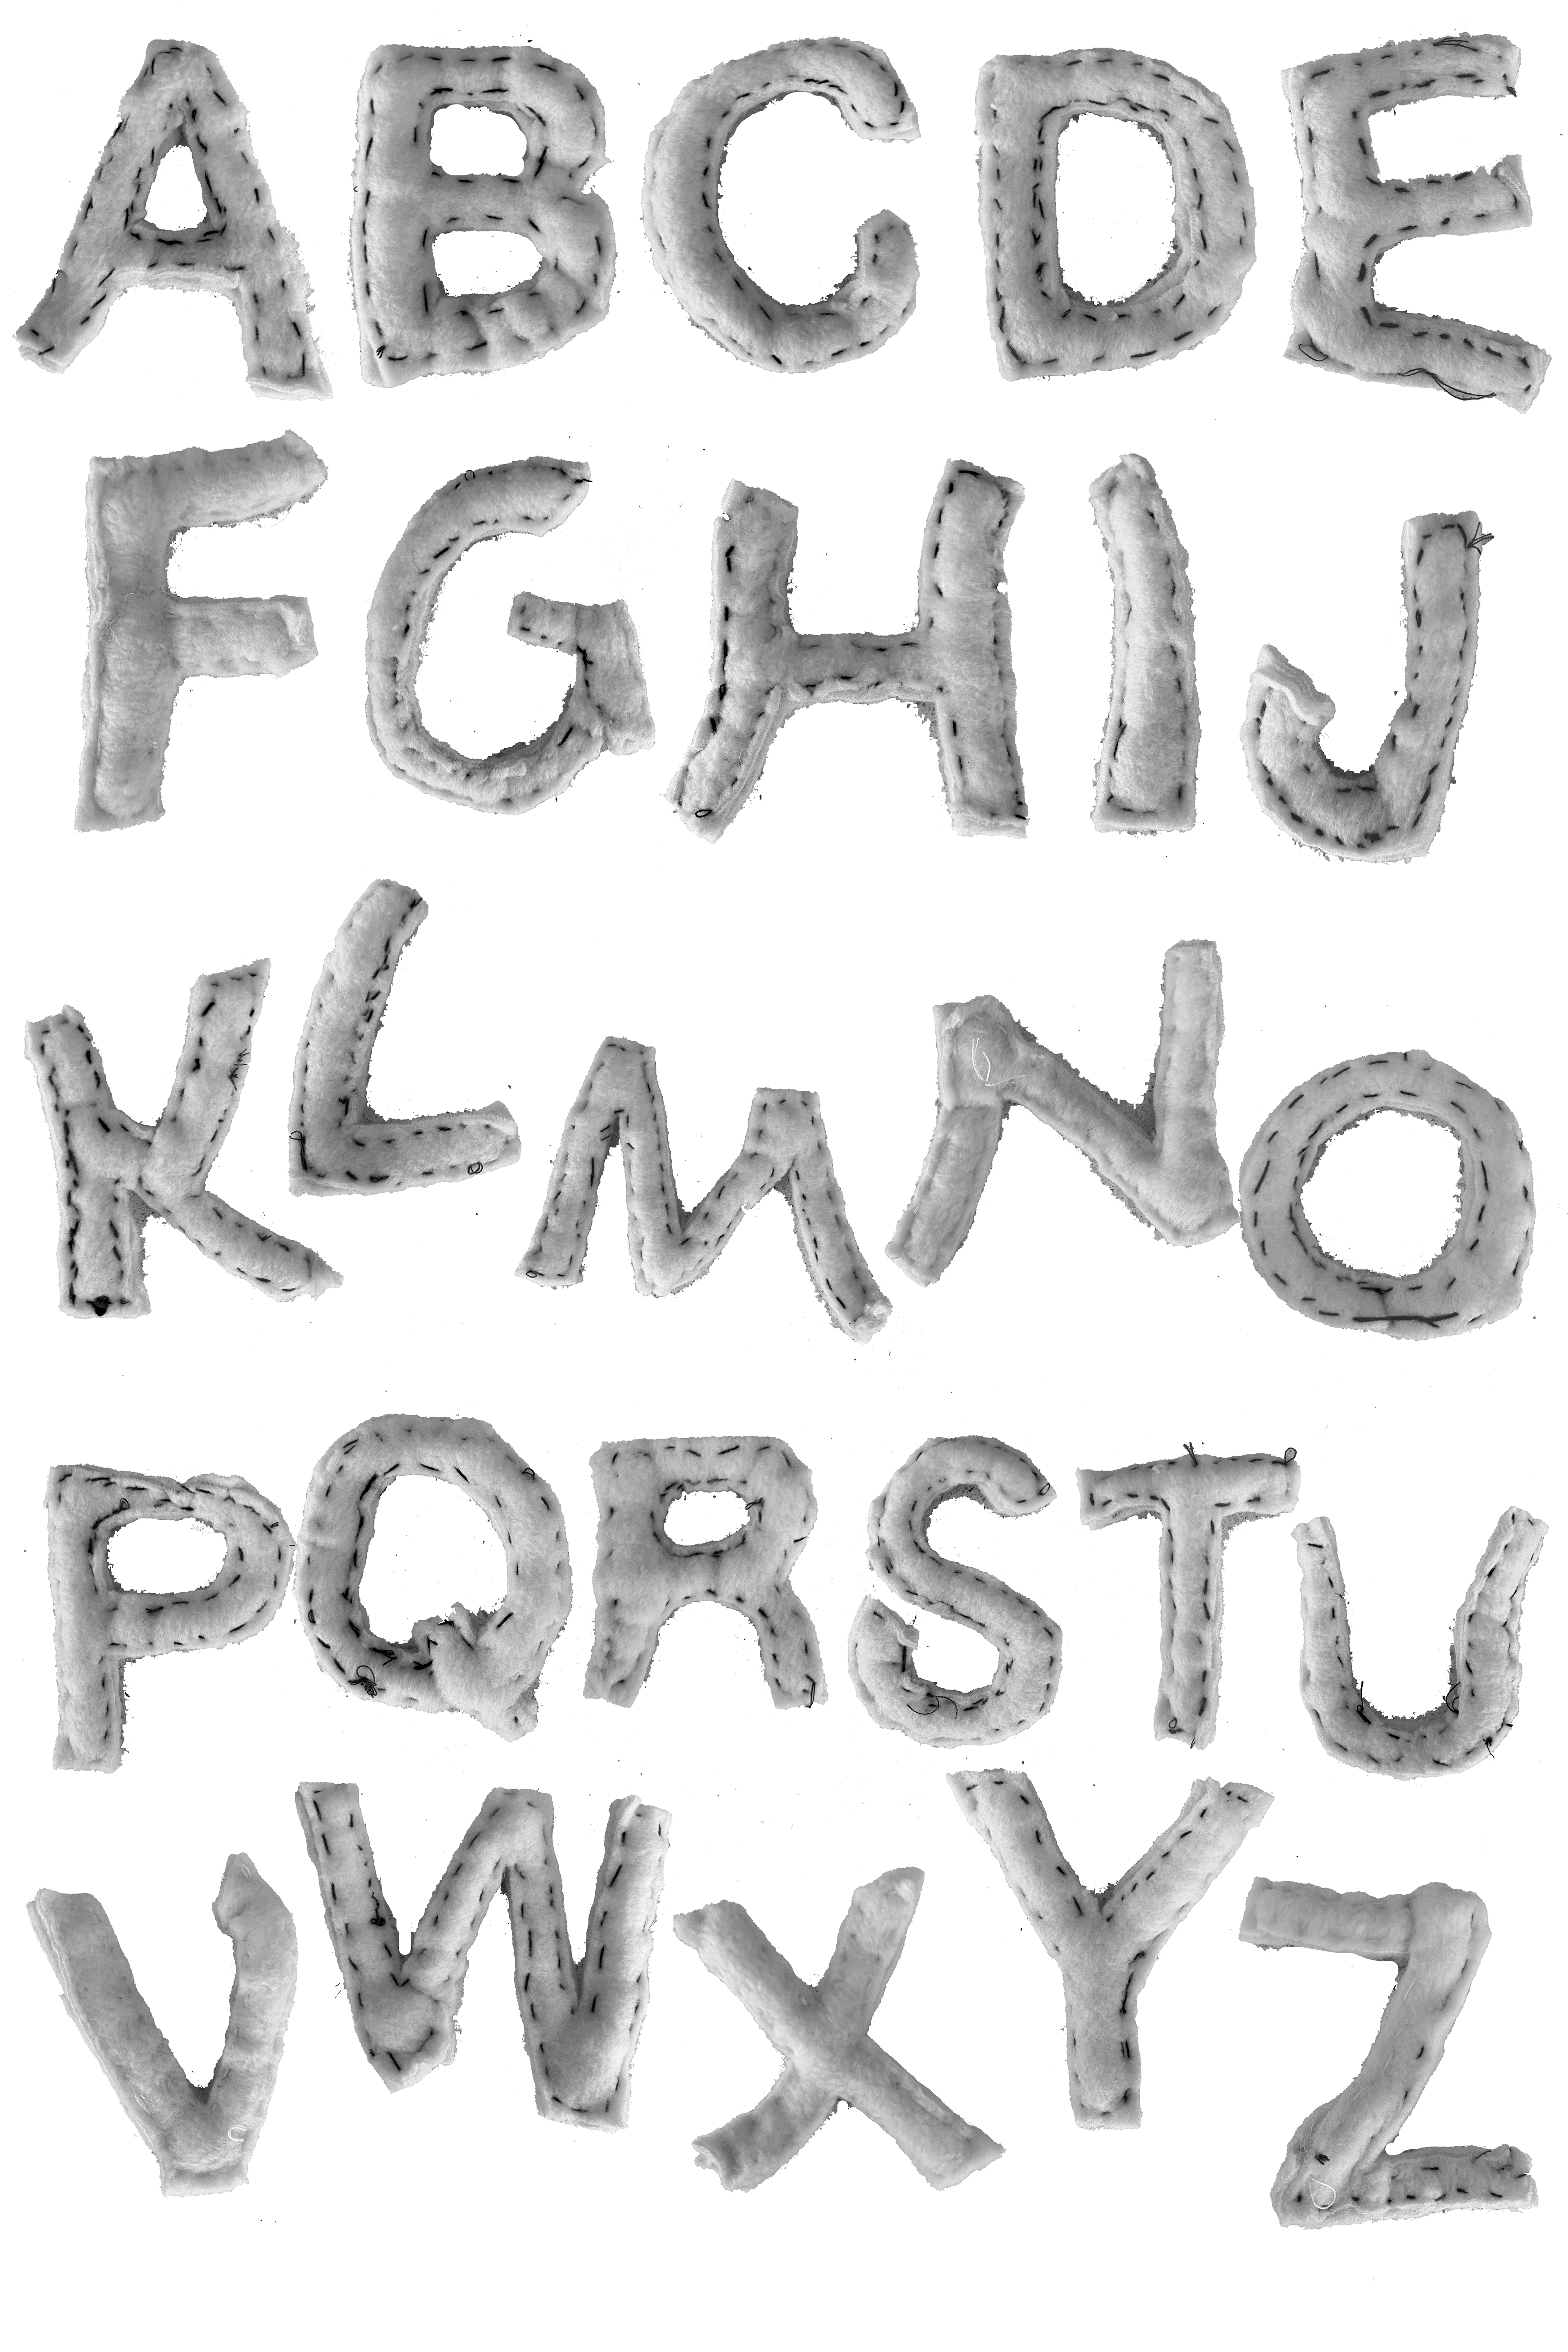
Plushie New Helvetica Neue Style
So I love plushies. I love the soft, huggable, squishy beings made from fluff known as plushies to a degree I'll not say. However, making a plushie isn't easy and requires the ability to sew. So the question is...
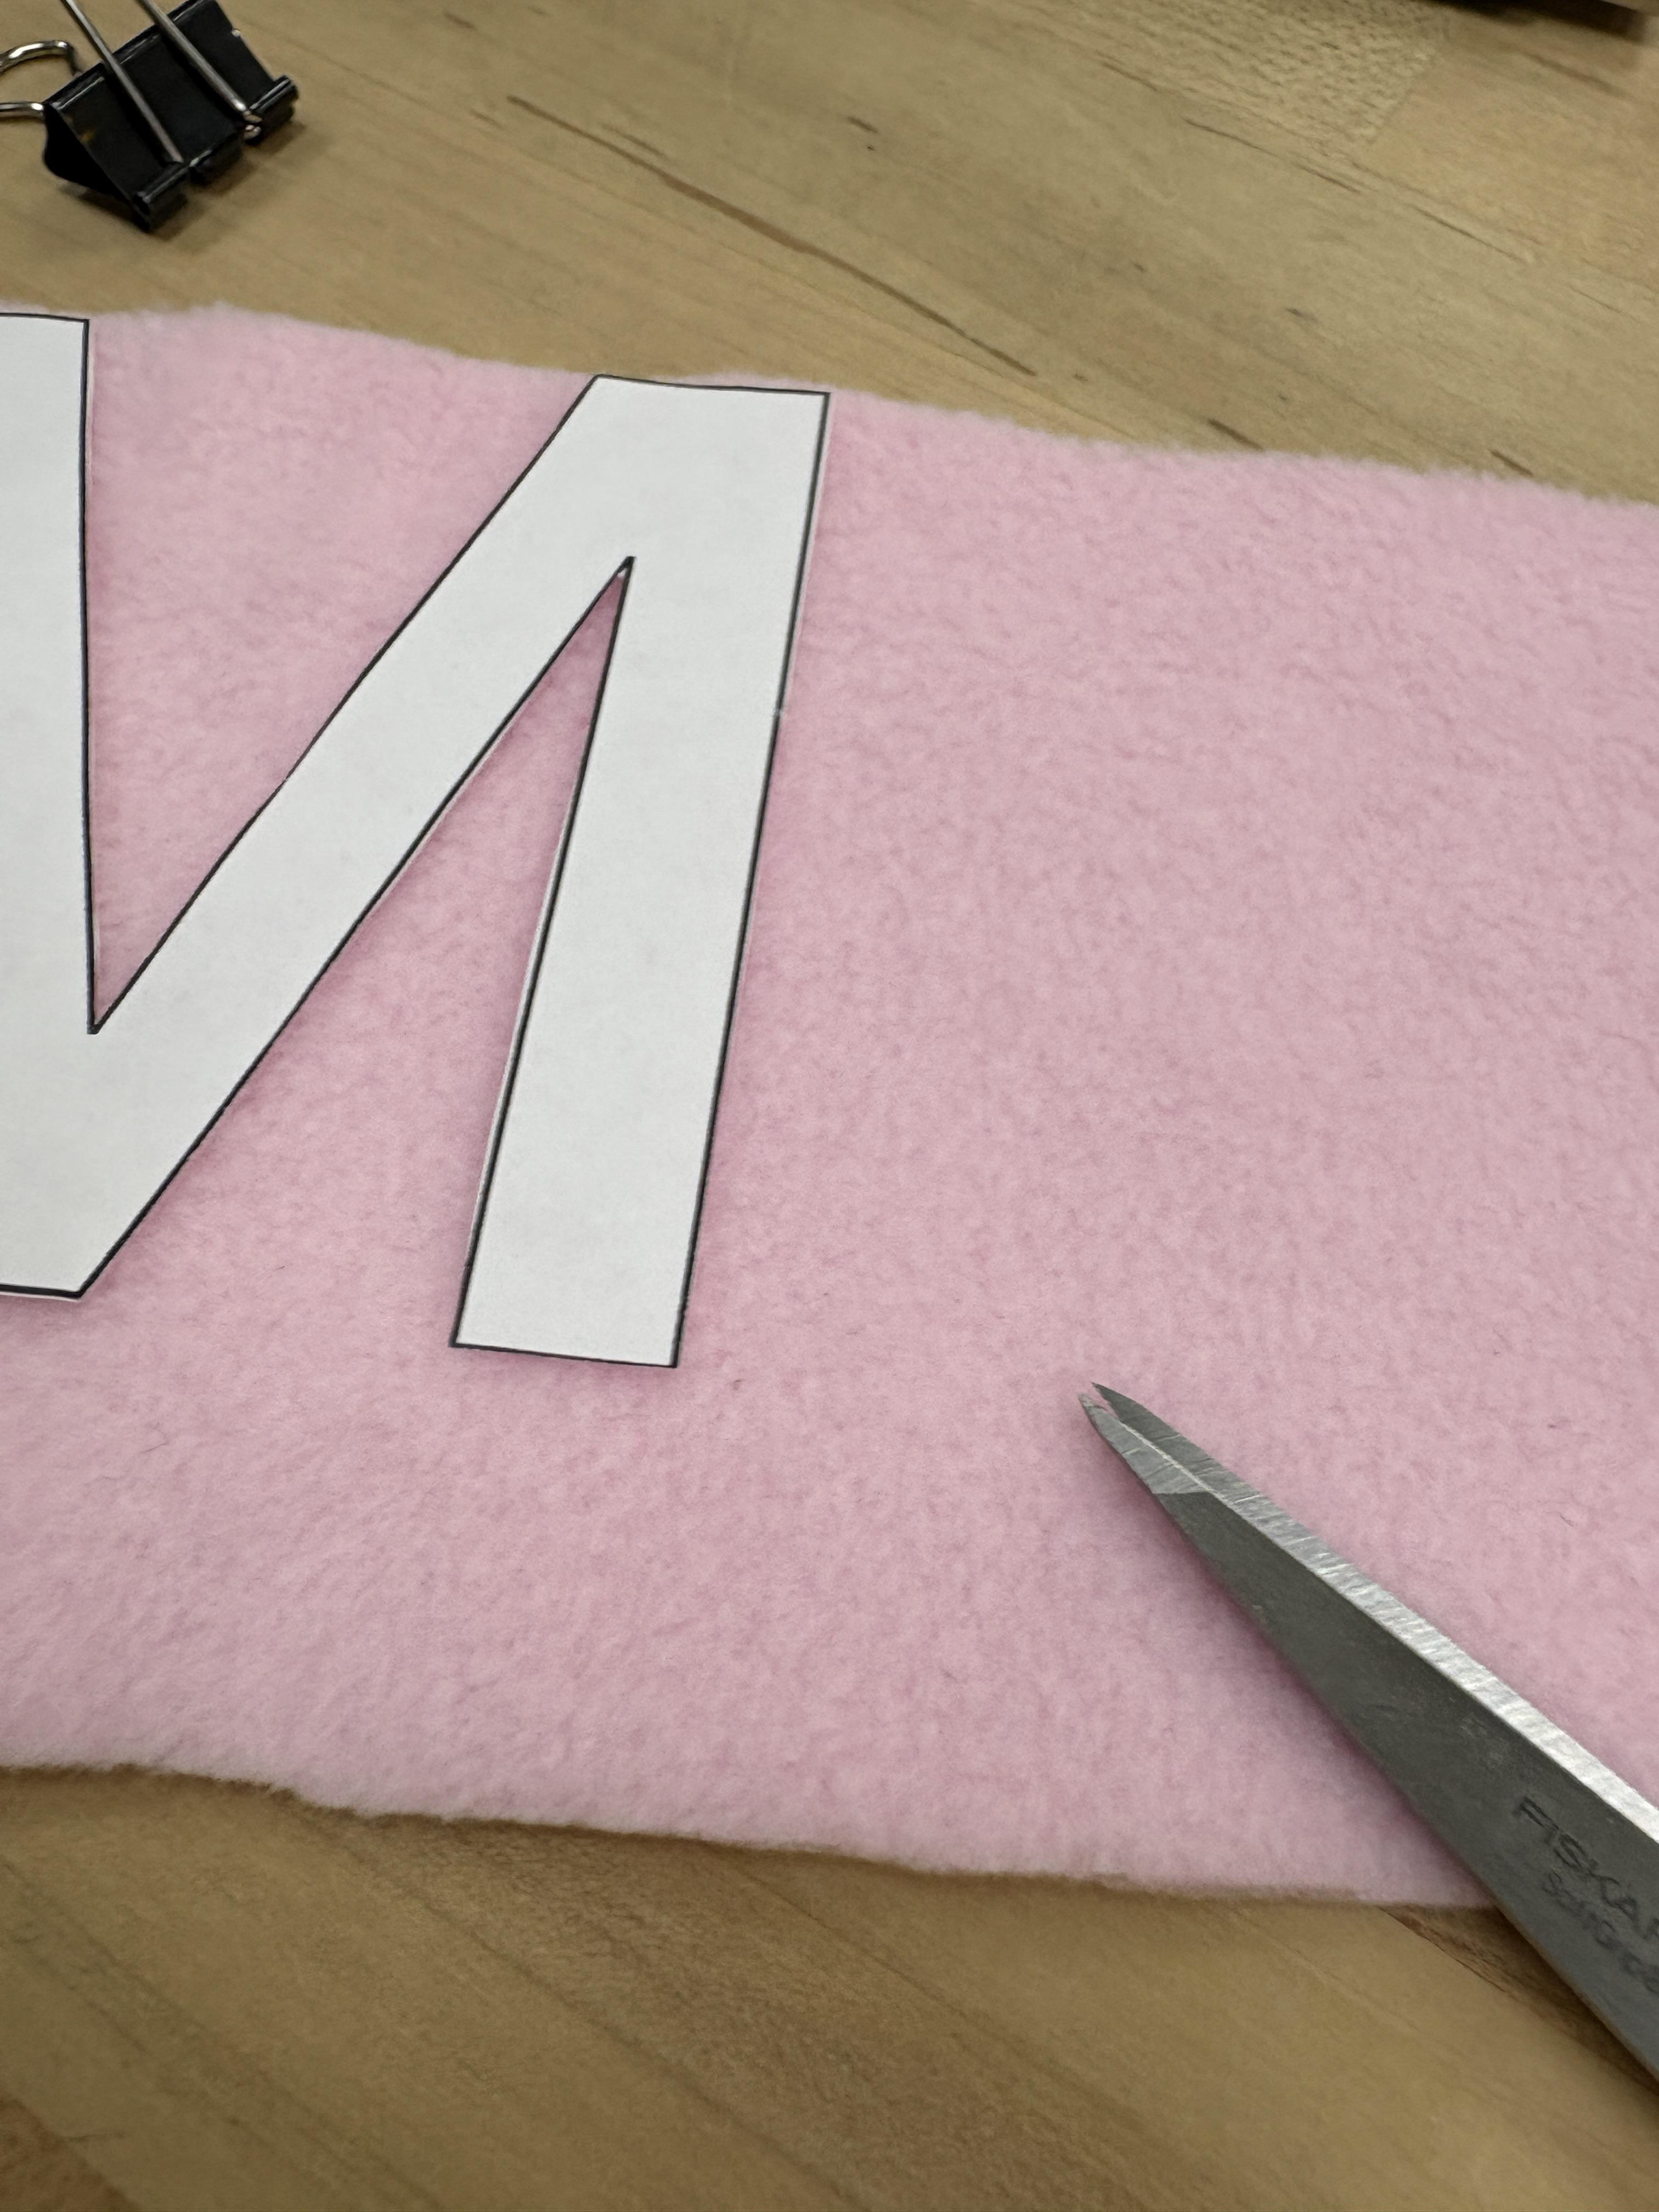
Line it up to the edge so it is easier to cut out the letters.
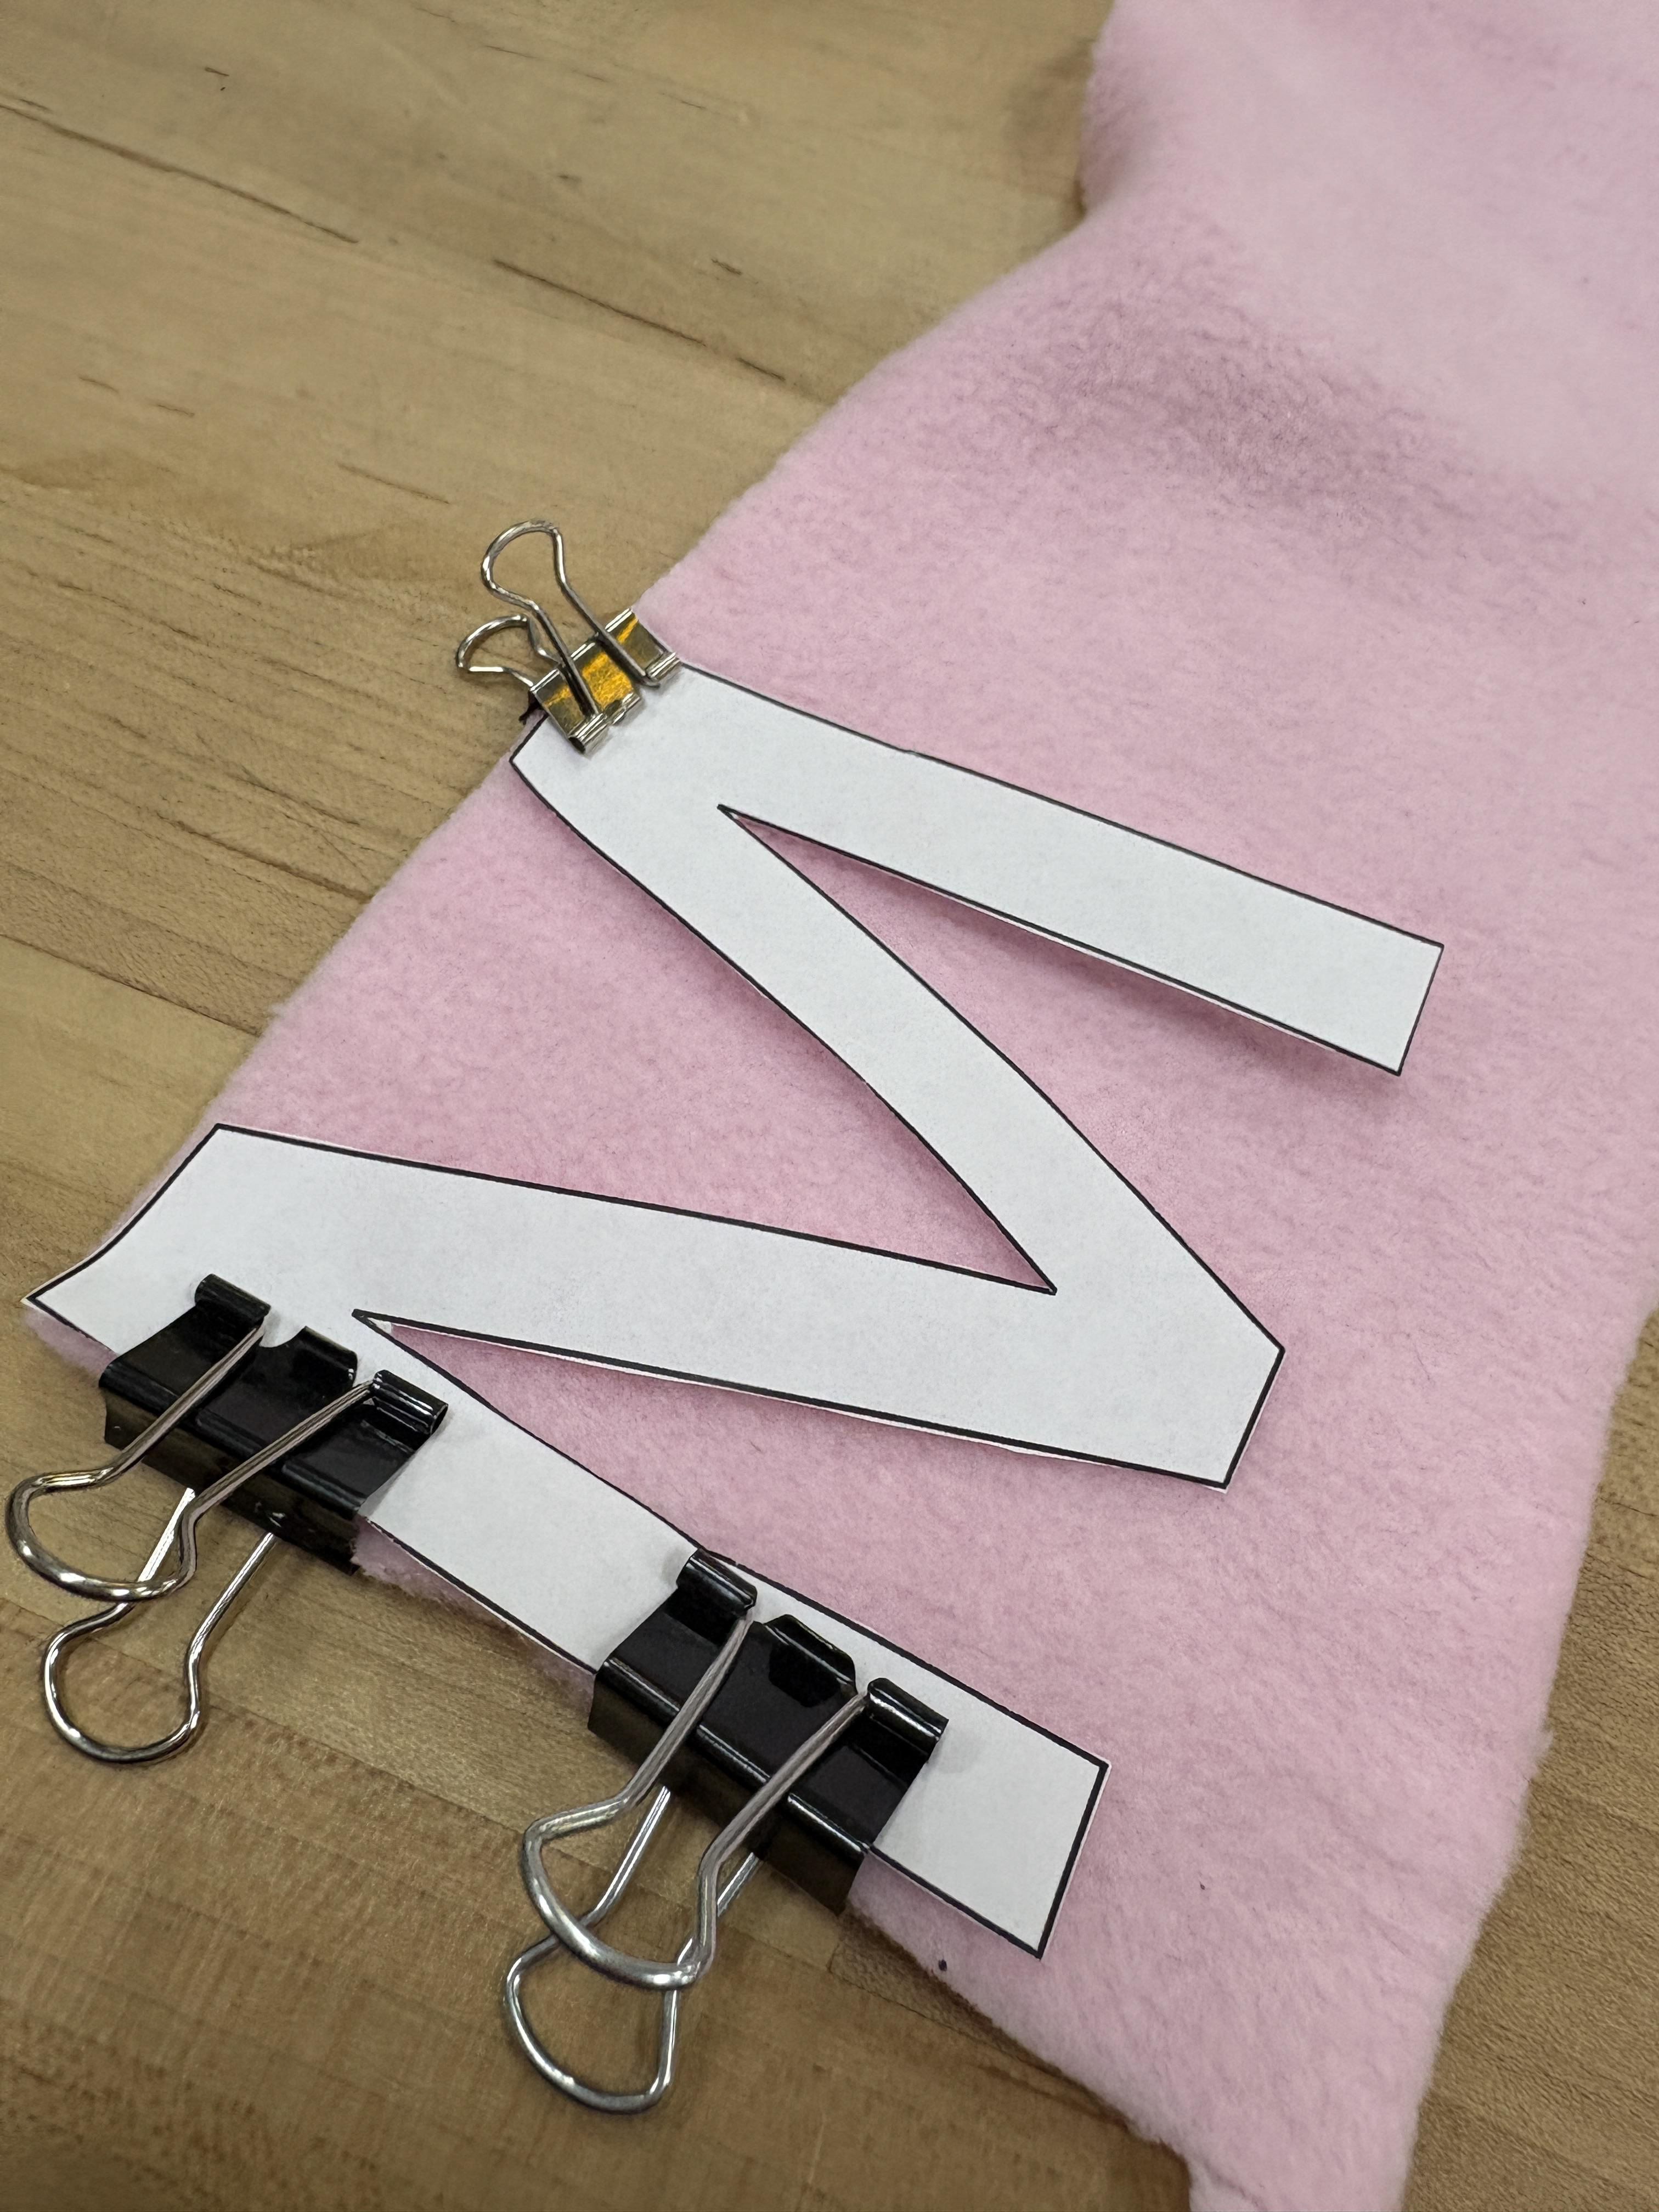
To make sure it stays in place, I used clips or what I call clippies to hold the paper letter in place.
How to Prep to Sew?
Step 1: Get the materials. This includes the sewing sit which includes the sewing pin, thread, tomato, etc.; the cloth, stuffing or what I like to call fluff, scissors. This also includes all assisting materials such as clips.
Step 2: Cut the cloth in smaller shapes so you can make it easier. Cut the tracing paper thing as well to make it accurate to the letters. This was done with Helvetica Neue letters.
Step 3: Line it all up. It’s best to line it via an edge just like the images to the left.
Step 4: Trim! Take away the extra so you can have more room for..
Step 5: Actually, cuting out letter. You may need readjust the clips to make sure the tracing letter is still.
Step 5: Actually, cuting out letter. You may need readjust the clips to make sure the tracing letter is still.
Step 6: Repeat, the last 3 steps with other letter. After all, you need two sides of cloth to sew up a plushie.
Once my two letters were cut out like the image on the right it's time to add the stuffing and actually sew them together.
How to actually Sew?
Sewing is an art especially what I did which is hand sewing. That includes threading a needle and the thread so you can sew. I would then stick the needle thread through the two pieces of cloth. Enter the thread one end and the prick it on the other end. Then repeat this over and over again.
I am not an expert at sewing, I make mistakes. This took most of the time. How did I put in the fluff? I rolled them into little balls then put them inside the half sewn up letter. Then I would sew it together completely.
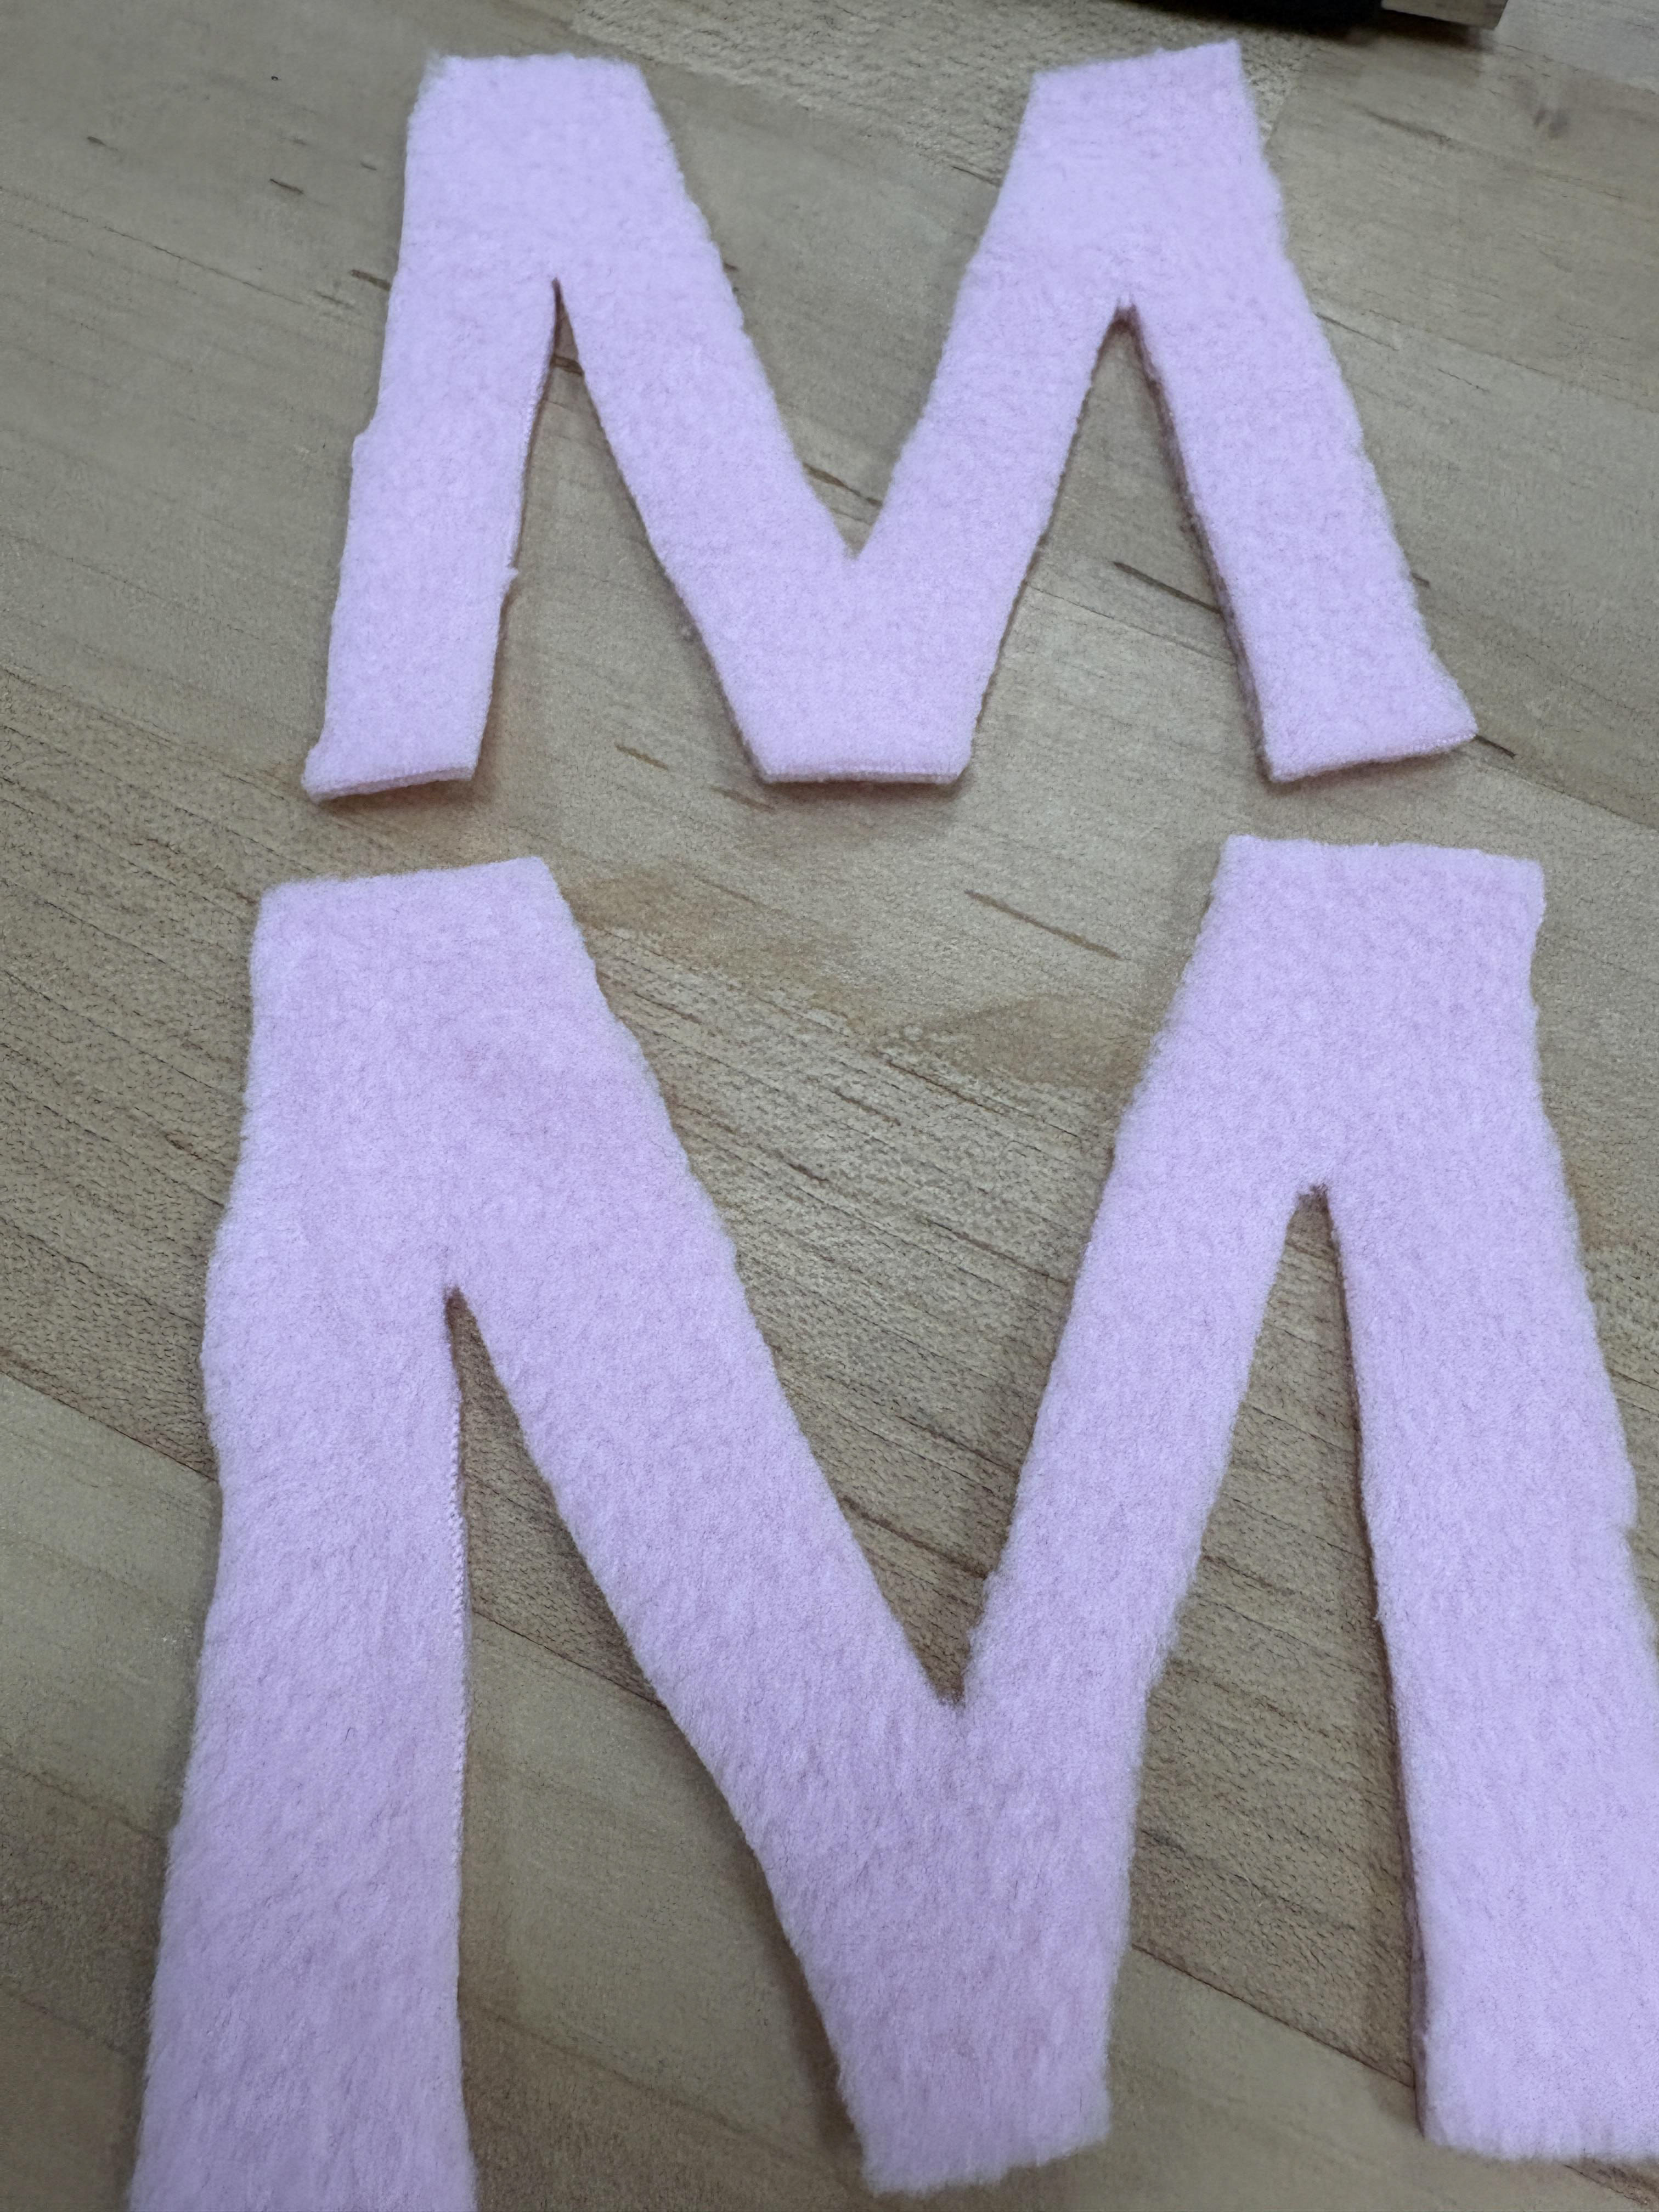
The cut out letters once the two pieces are cut out but before they are sewn together add the fluff is added.